Conversion: Storyly Actions
Button Click & Swipe Up
This guide shows how to handle Swipe Up and Action Button clicks from user.
You can also check out the demo on GitHub
Before you begin
You need to have the working Storyly setup as described in Initial SDK Setup
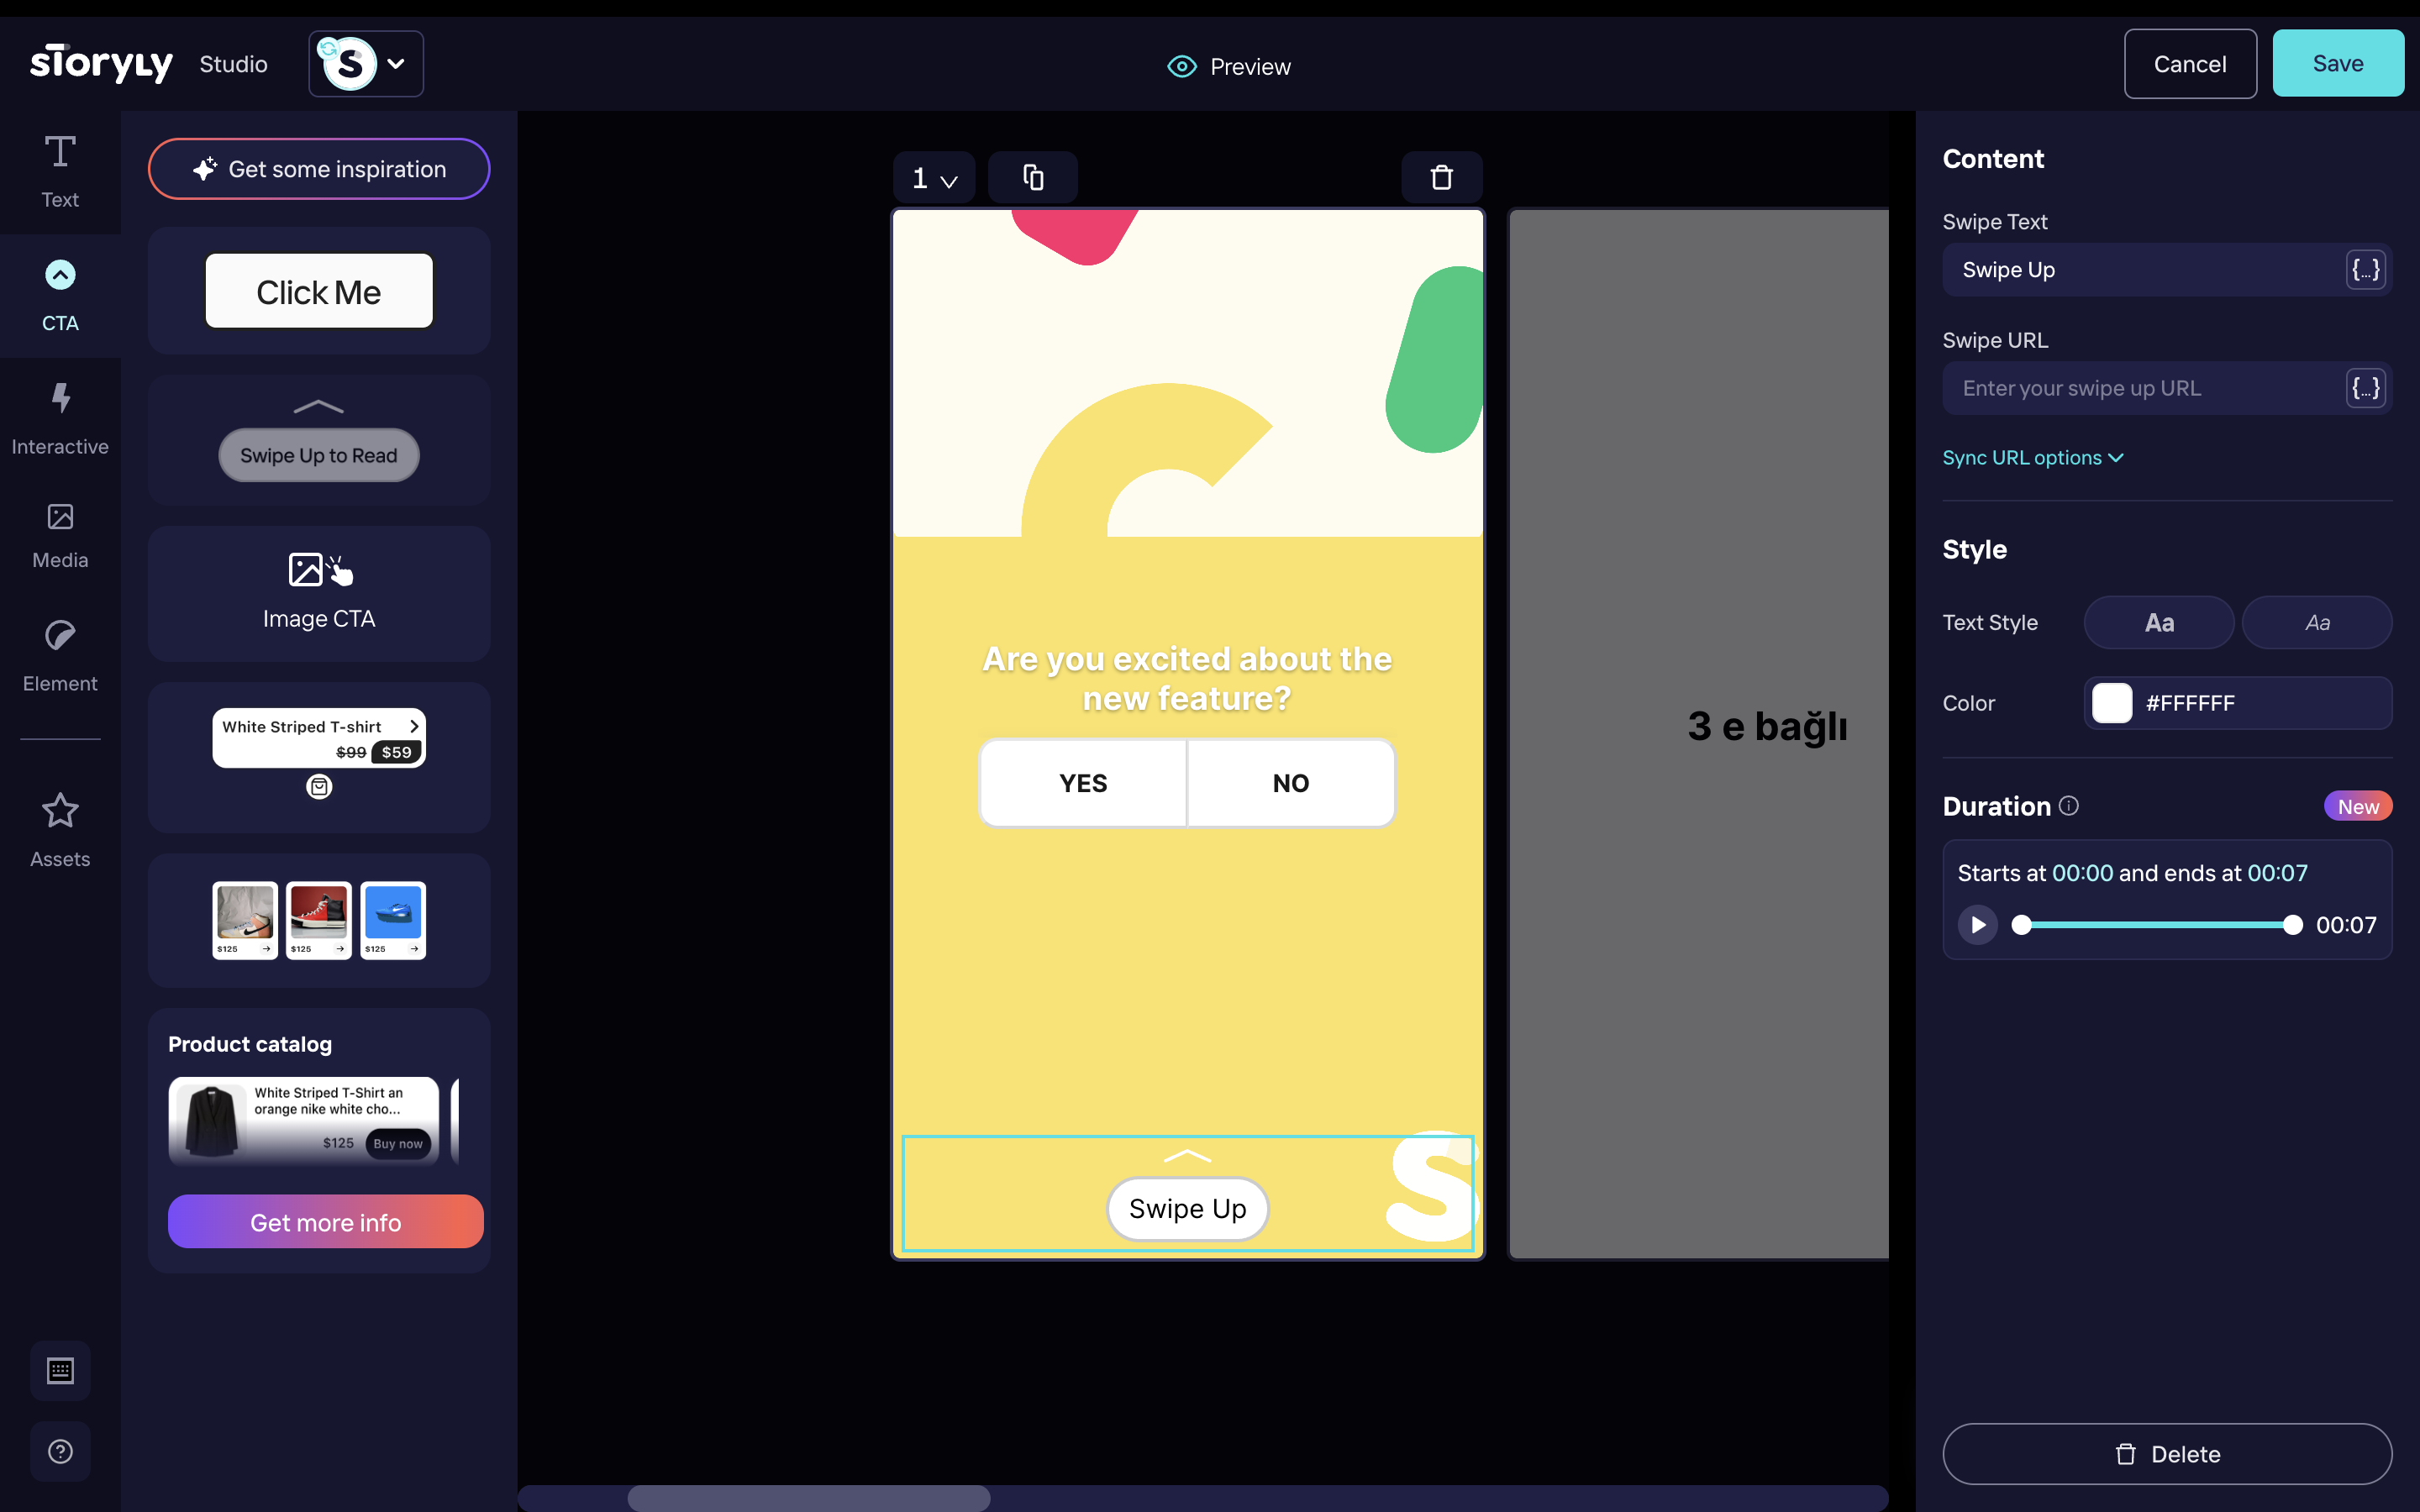
You can add Swipe Up or Action Button components to any Story using Storyly Studio.
You can define custom Action URL to these components so that user can be redirected to the in-app page content or an outlink. You need to click Edit button after selecting those components and enter any Action URL and title of component.
When the end-user clicks on the Swipe Up or Action Button, redirection needs to be handled by the application itself. In order to handle this action, you must register StorylyDelegate and override storylyActionClicked function in it. You can register the listener using the following code example:
// the class(indicated with self) extends StorylyDelegate
self.storylyView.delegate = self // Override event functions
// the class(indicated with self) extends StorylyDelegate
self.storylyView.delegate = self; // Override event functions
You must override storylyActionClicked function in StorylyDelegate which you have registered.
func storylyActionClicked(_ storylyView: Storyly.StorylyView,
                            rootViewController: UIViewController,
                            story: Storyly.Story) {
    // story.actionUrl is important field
}
- (void)storylyActionClicked:(StorylyView *)storylyView
          rootViewController:(UIViewController *)rootViewController
                       story:(Story *)story {
    // story.media.actionUrl is important field
}
Updated over 1 year ago