Targeting: User Segments
User Segments with Storyly
This guide shows how to use Story Labeling to target your user segments.
You can also check out the demo on GitHub
Before you begin
You need to have the working Storyly setup as described in Initial SDK Setup
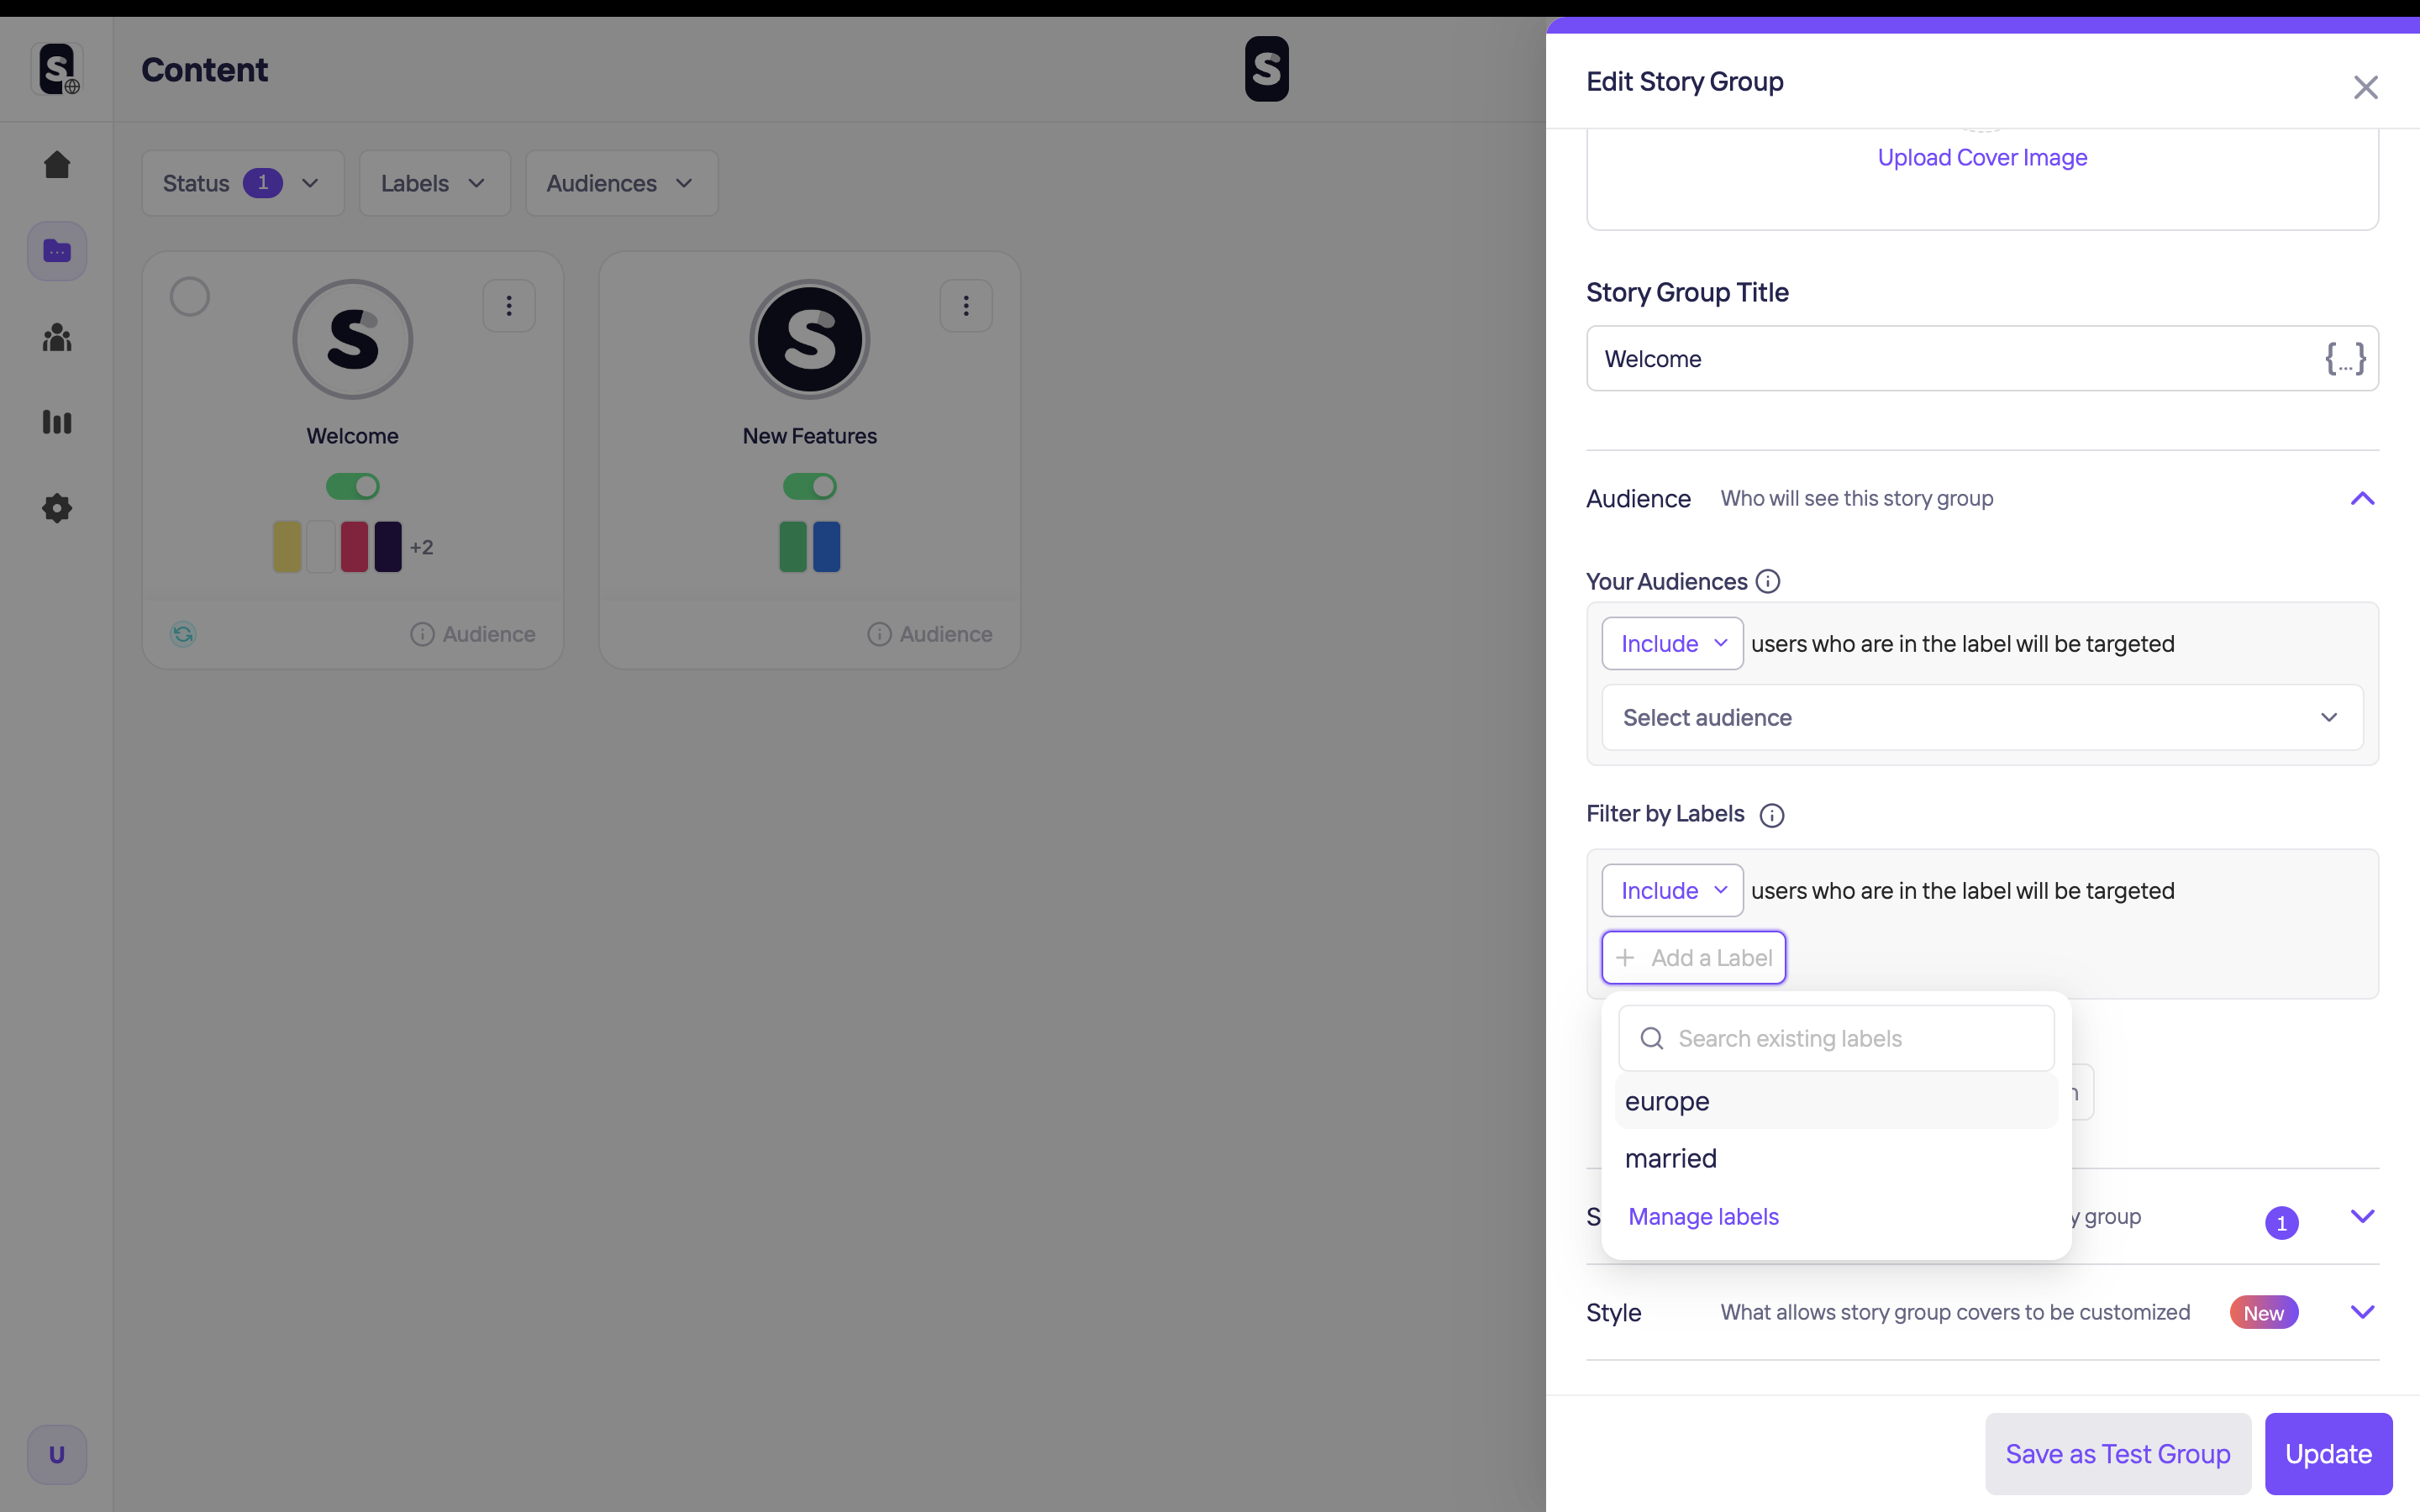
We will create a Story Group and this Story Group will be shown the users whose labels are ["married", "Europe"].
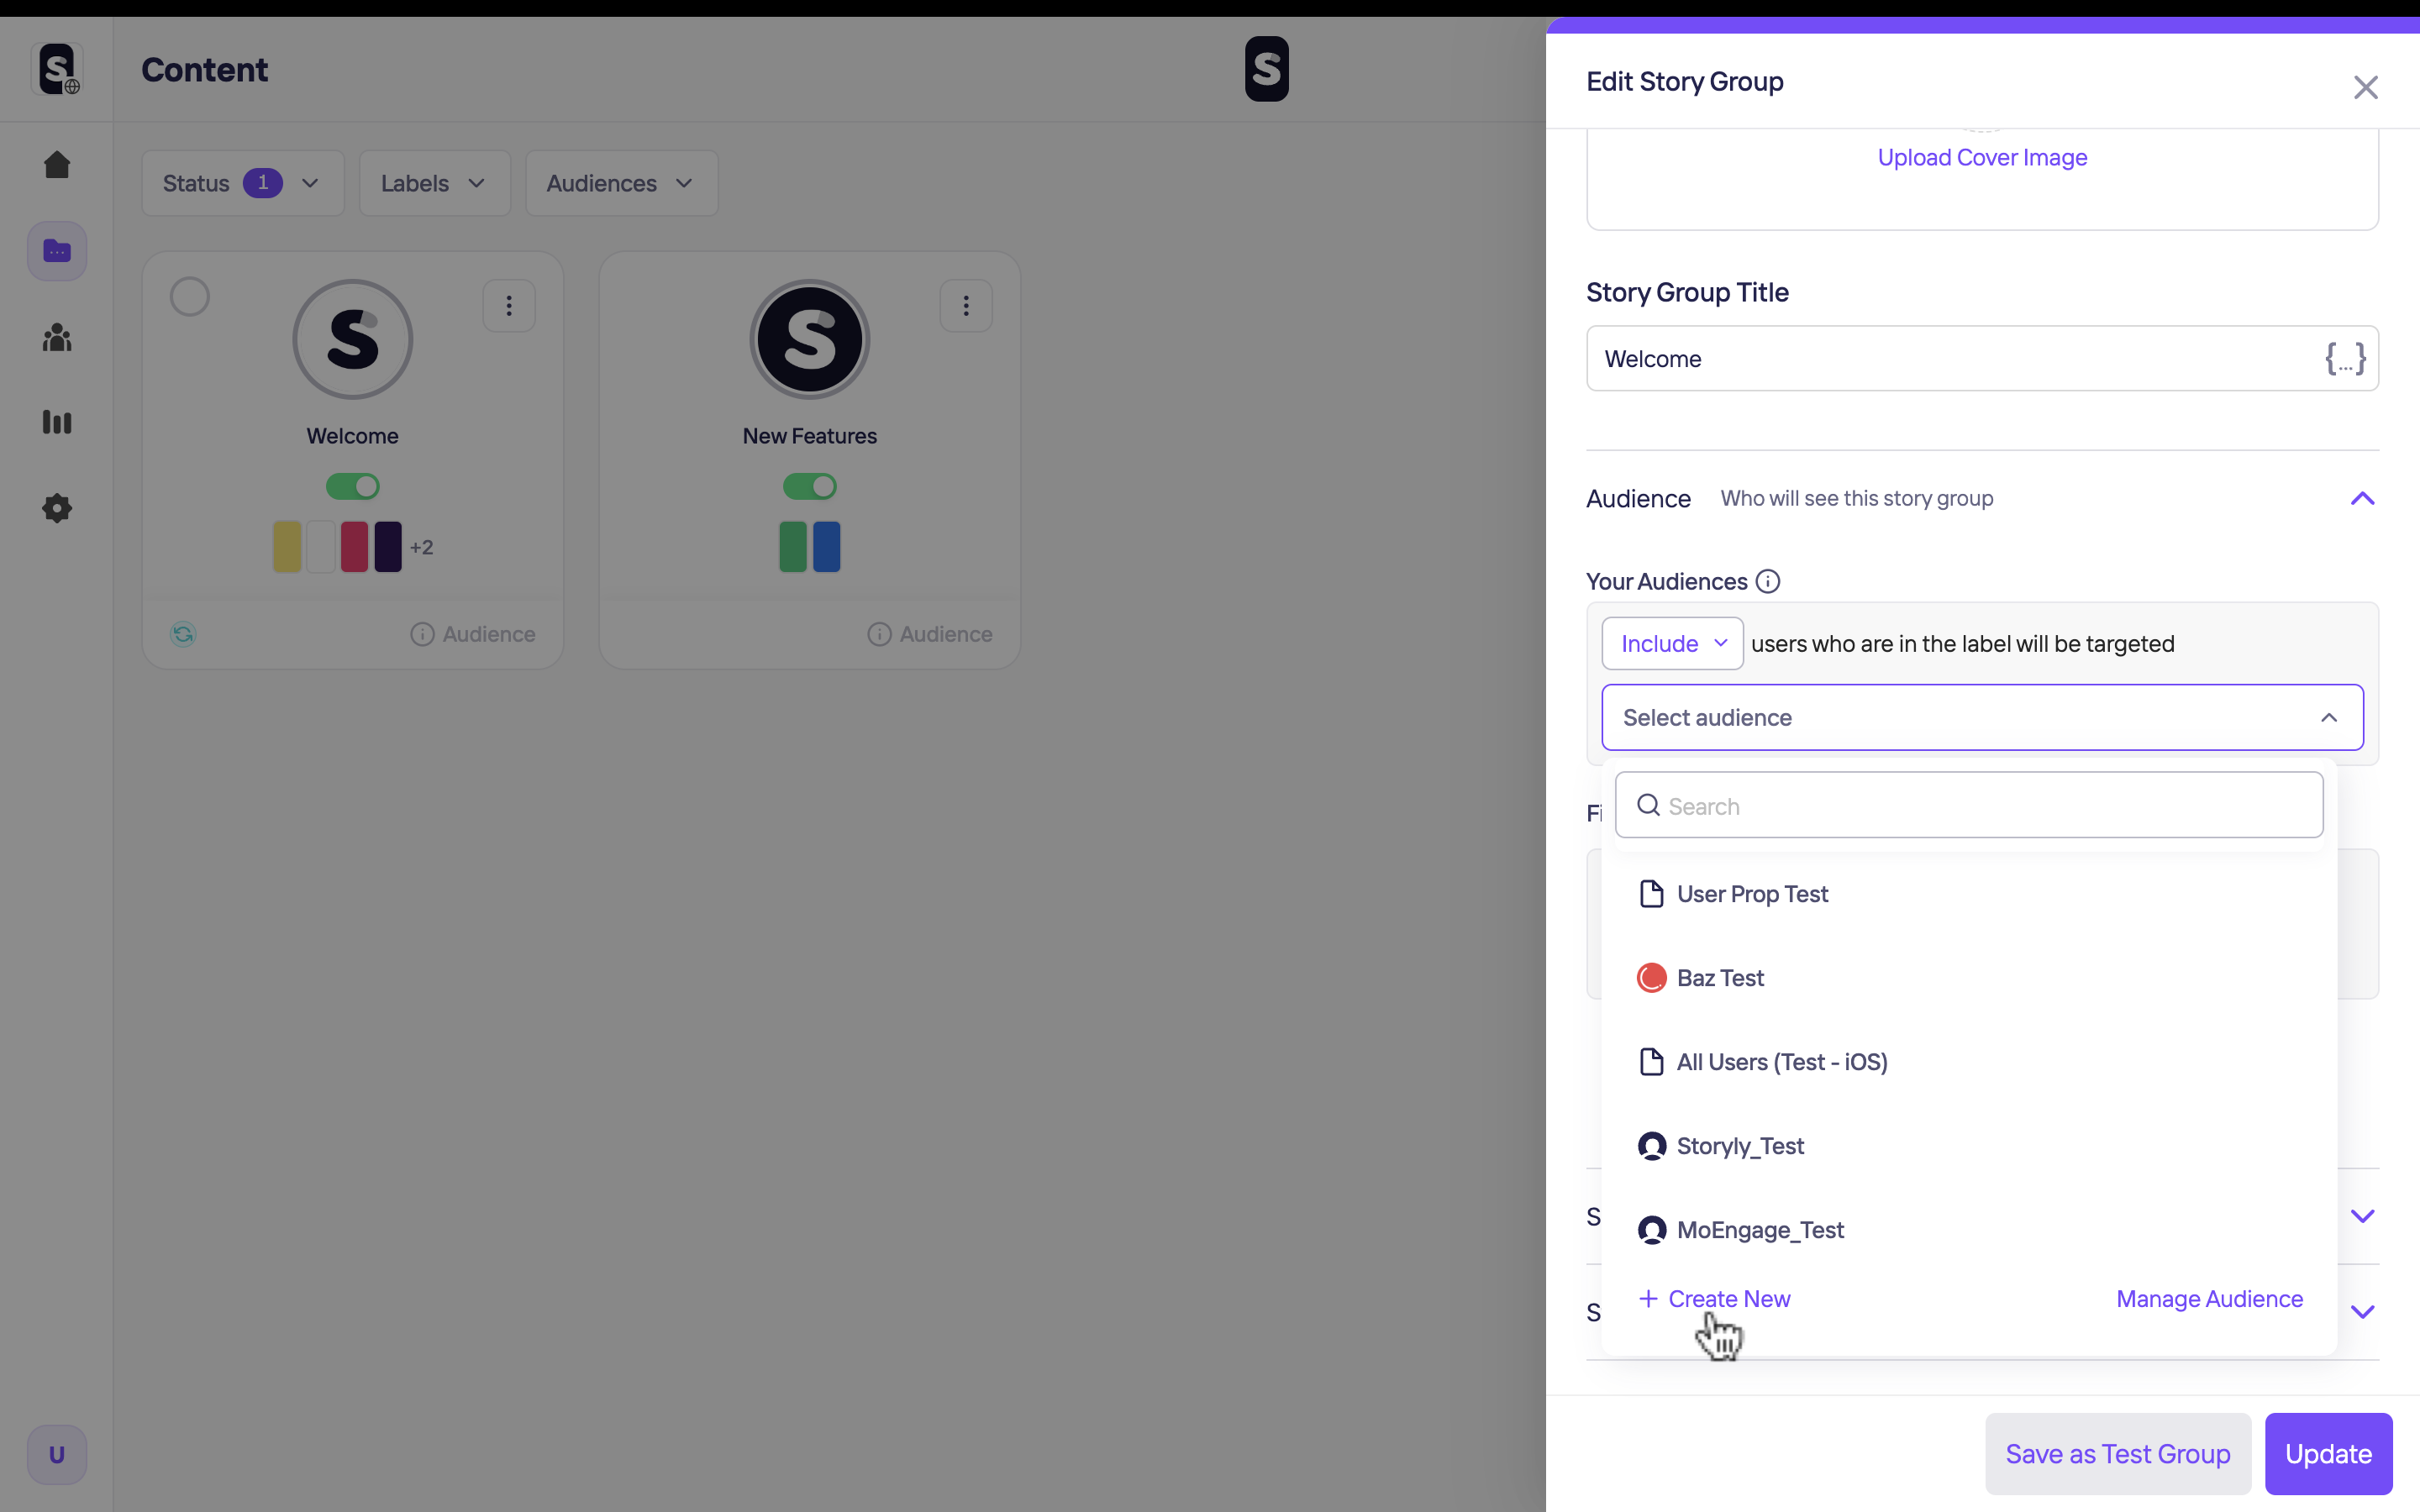
Set Your Labels in Storyly Dashboard
In the Storyly Dashboard, while creating story groups, you will see an option called Audience. Here you can set your labels ["married", "Europe"] by enabling Labels checkbox. You may use AND , OR options according to your targeting conditions.
Passing Segments to Storyly SDK
In the Storyly component, labels are called storylySegments. If you have already set your labels for your story groups from the Storyly Dashboard, then you are ready to go. As it can be seen below, the StorylyParam class has a parameter called storylySegments, which has the following definition:
StorylyParam()
    ...
    ..storylySegments = ['shoes', 'woman'];
In the StorylyParam class, the storylySegments parameter takes a set of strings that will be used in the process of segmentation to show specific story groups to the users. If a label of the story group in the dashboard is a subset of your segments given to SDK, Storyly SDK will show that story group. For basic targeting, it is enough to set the storylySegments parameter.
Example Usage:
- If you do not give any parameters to
storylySegments, Storyly SDK will show all active story groups with/without labels. This is the default behavior. - If you set ["car", "man"] to the
storylySegments, Storyly SDK will show the story groups whose label set is "car", "man", car" and "man" and lastly, it will show the story groups without labels. - If you set an empty value to the
storylySegments, only the story groups without labels will be shown.
Custom Audience with Storyly
This guide shows how to use Custom Auidence to target your user.
You can also check out the demo on GitHub
Before you begin
You need to have the working Storyly setup as described in Initial SDK Setup
Upload Your CSV File in Storyly Dashboard
Custom Audience enables you to target specific users by matching the user information.
The CSV File must include the Custom Parameter that your app passes to Storyly SDK.
While creating or editing a Story Group, you can upload your CSV File.
Passing Custom Parameter to Storyly SDK
This section shows you how to pass a custom parameter to Storyly SDK.
Storyly SDK allows you to send a string parameter in the initialization process. In StorylyParam class, the storylyCustomParameters field is used for passing Custom Parameter to Storyly SDK to match the user info that you upload in previous section.
StorylyParam()
    ...
    ..storylyCustomParameters = '';
Warning
You are allowed to send a 200 characters string value with the
storylyCustomParametersfield. If you exceed the size limit, your value will be set to null.
Attention
Custom Parameter's value will be kept on our data bases.
Updated about 2 years ago