Using Bottom Sheet with Storyly
How to use the bottom sheet with Storyly?
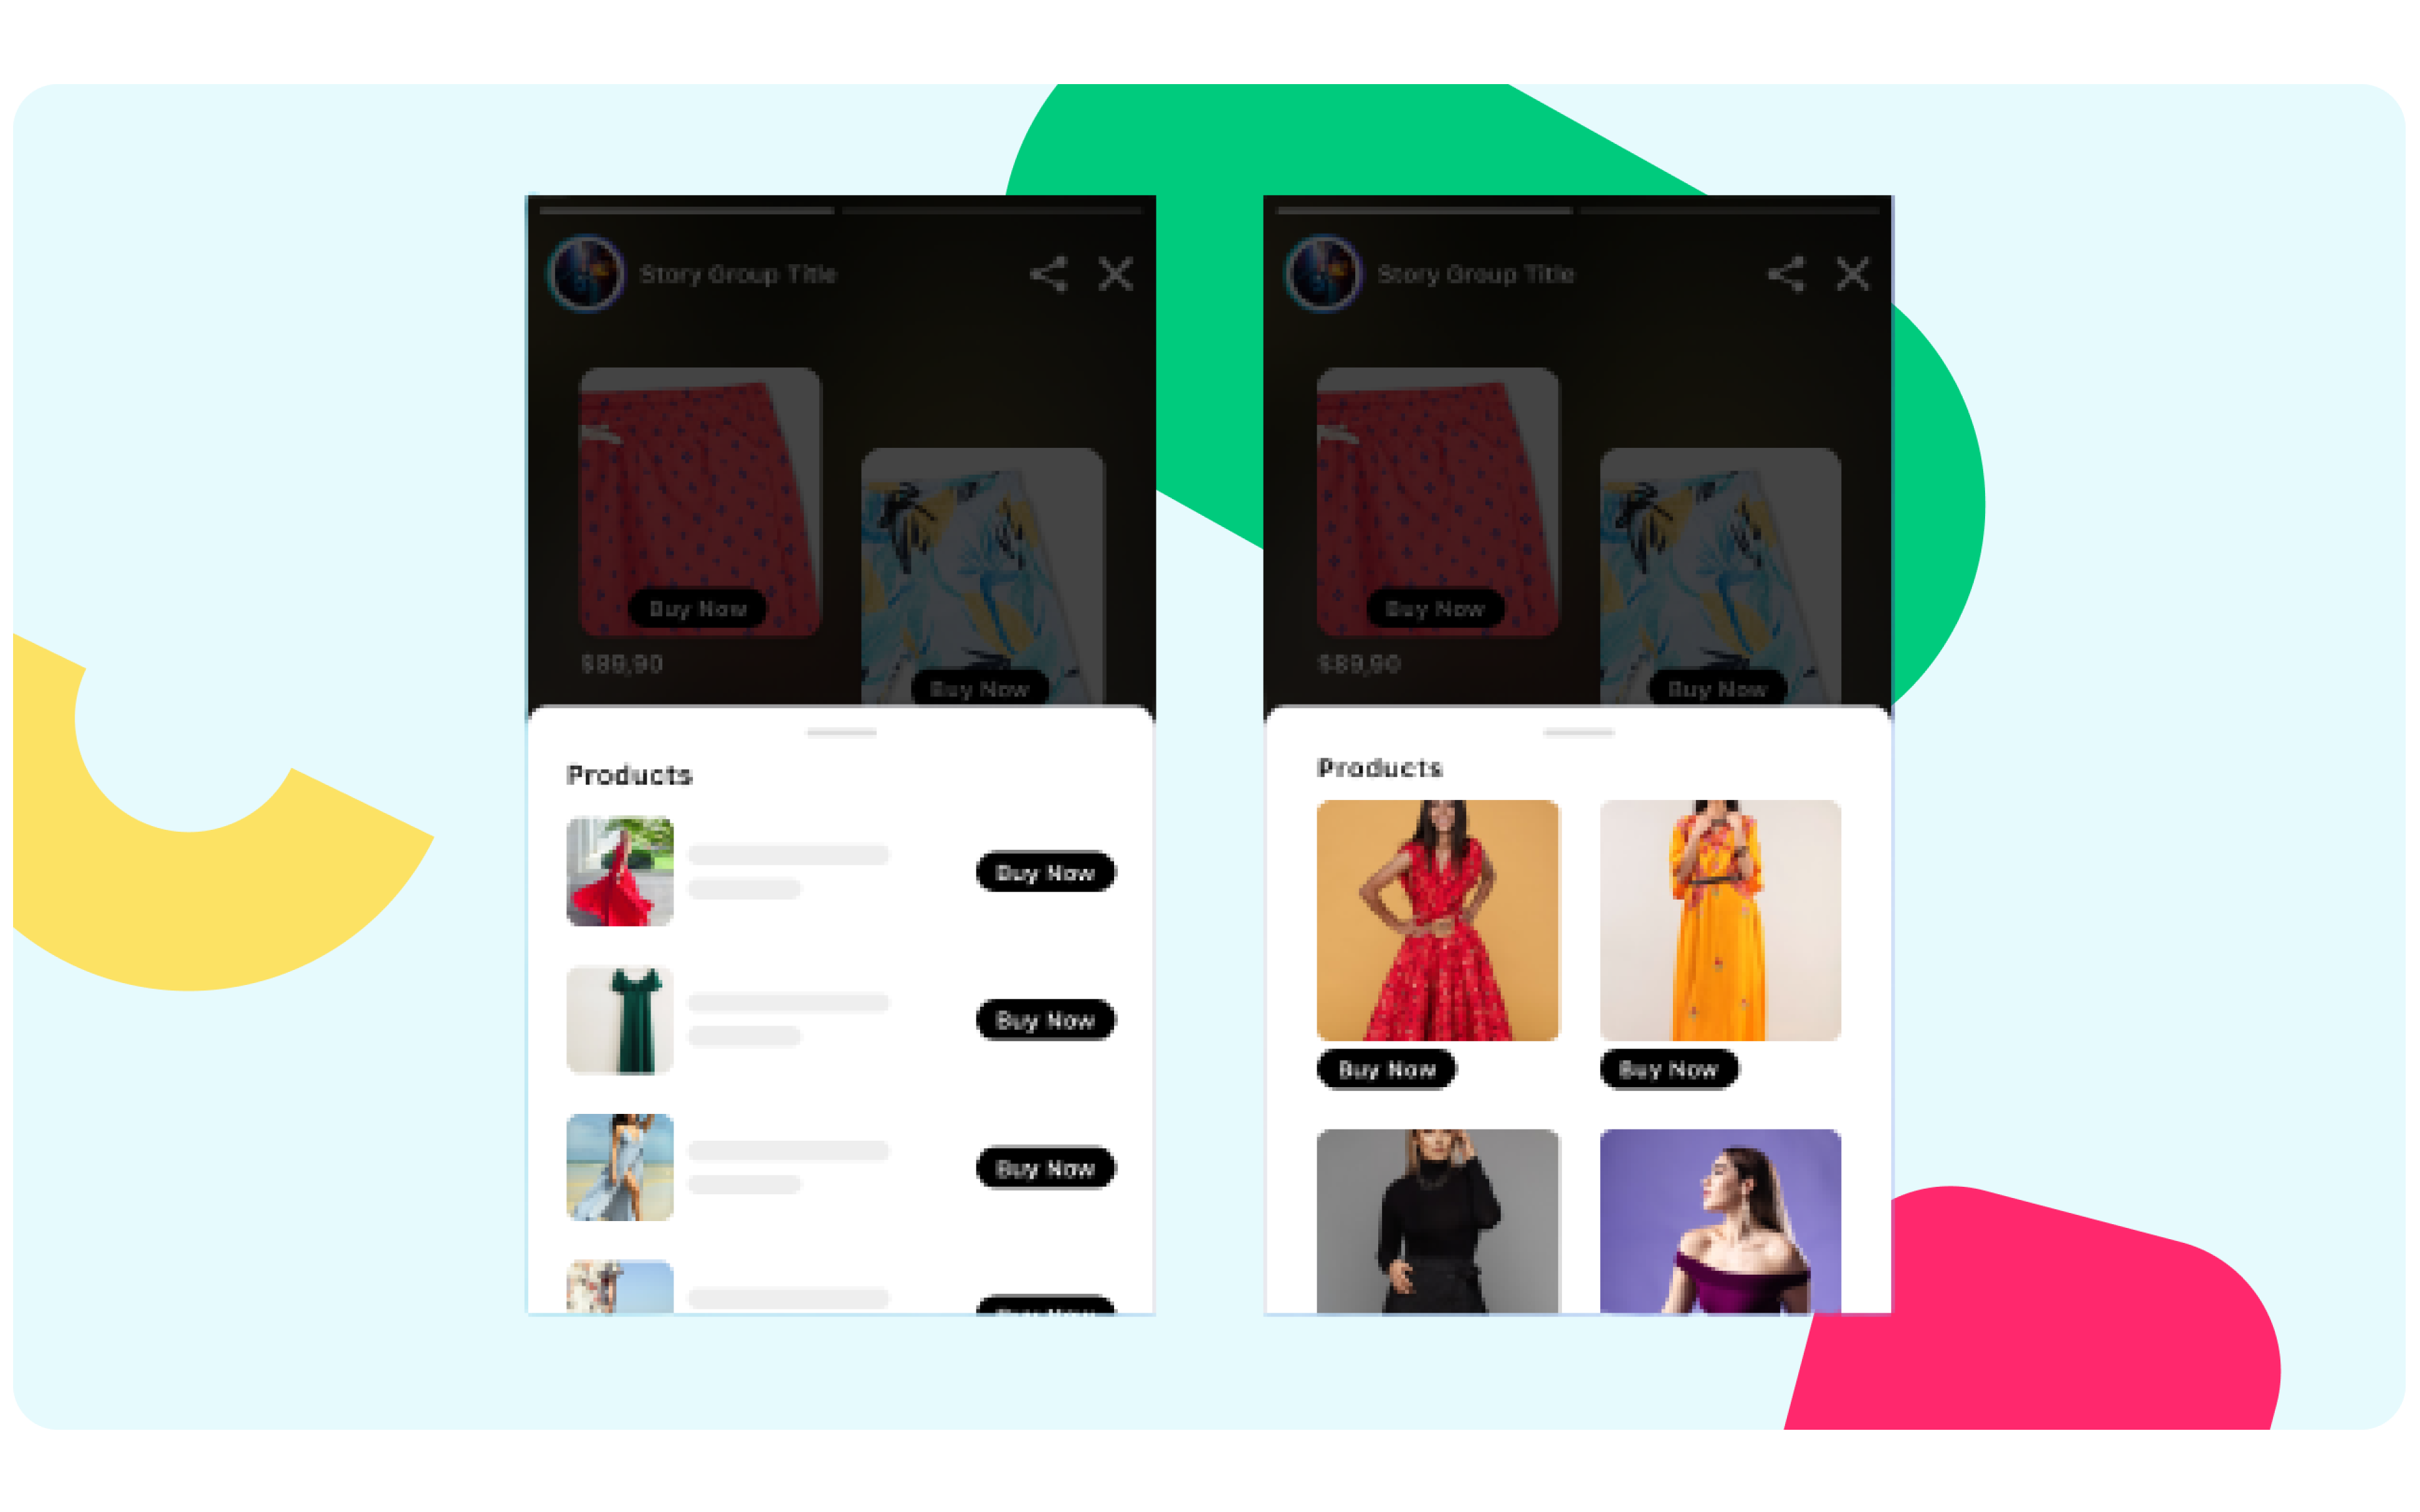
Bottom Sheets are supplementary expandable surfaces placed at the bottom of the screen on which you can display a wide variety of content. With Bottom Sheets, users can view the products and add them to their carts without disturbing the story viewing experience. That way, you can increase the product discovery and sales conversion.
Bottom Sheets can be used to diversify the Instant Shopping experience with Storyly.
Here, we've prepared an example usage of Bottom Sheet with Storyly. You'll find a recipe below which you can share with your Dev Team. You can follow the steps and create a similar experience for your users.
Here is the recipe that you can share with your developers to use Bottom Sheets with Storyly!
Adding CTAs on Studio
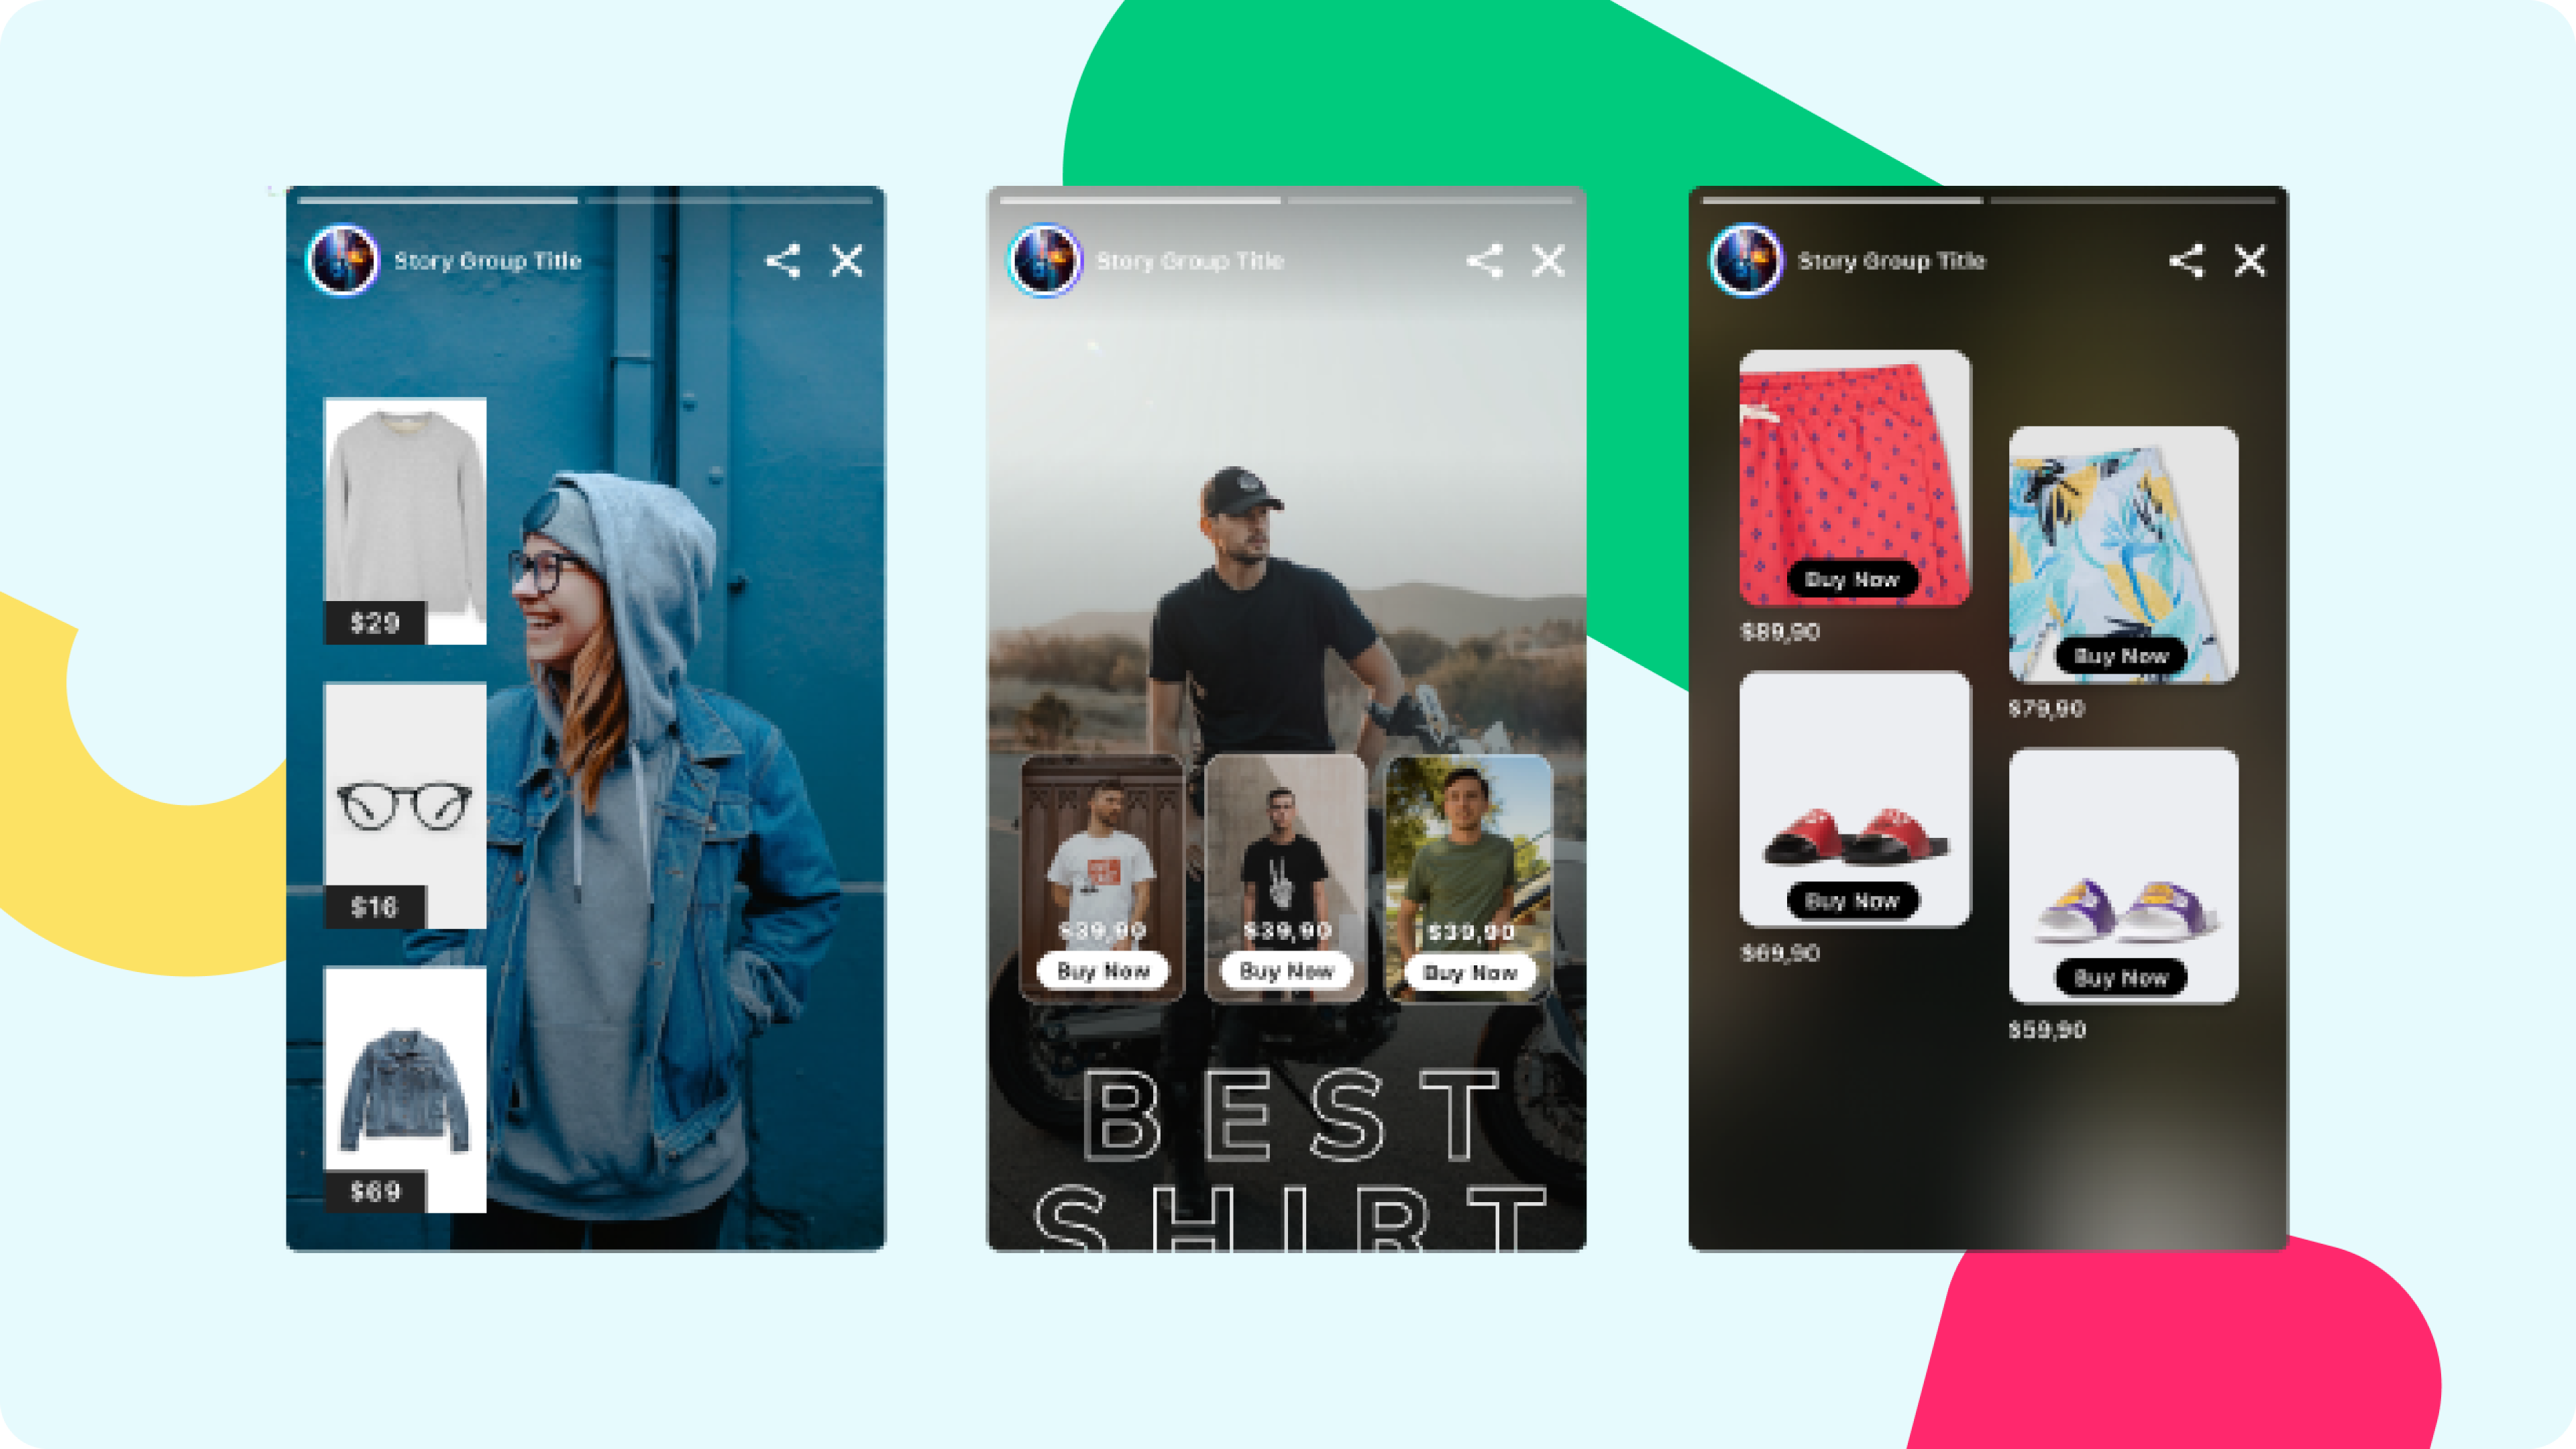
You may prepare product cart images and add them as Image CTA on the Storyly Studio, or you may just use Click button, Swipe Up or Product Tag to open the bottom sheet without closing the story. Below you can find the sample Image CTAs we have prepared.
On the Studio, as Destination URL, you can simply enter bottomsheet-1, bottomsheet-2,... By this way, if you're planning to use several CTAs in the same Story, you can differentiate one from the other.

Handling CTAs & Opening Bottom Sheet
After adding CTAs on the Studio, you need to handle CTAs on the app side. Once the user clicks on the CTA, you can open a Bottom Sheet. The design and the content of the Bottom Sheet are all customizable! You may include Product Cards or Product List as you wish.

Warning
Please share the recipe shared above with your developers to test it out!
Updated over 1 year ago
