Creating a Flow
How to create a Flow?
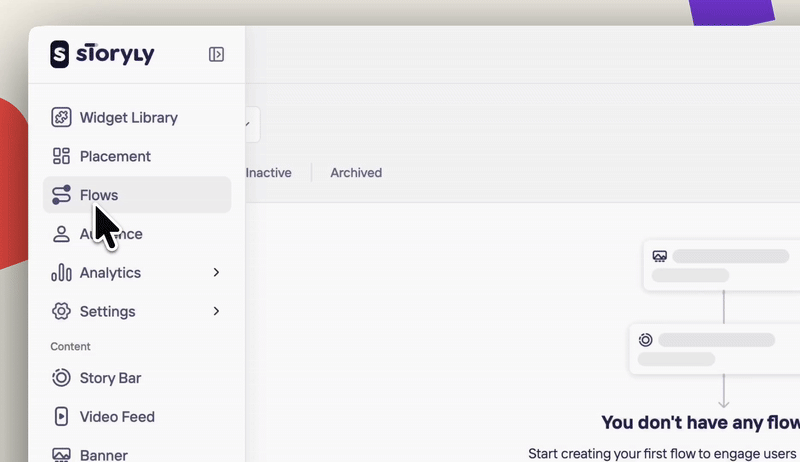
Let’s start creating our first flow to engage users and unlock insights!
At Flows section, follow the steps below:
Click on + New content button.

- First, Choose a flow template
Based on a specific business goal, choose a flow template and the perfect widgets combination.

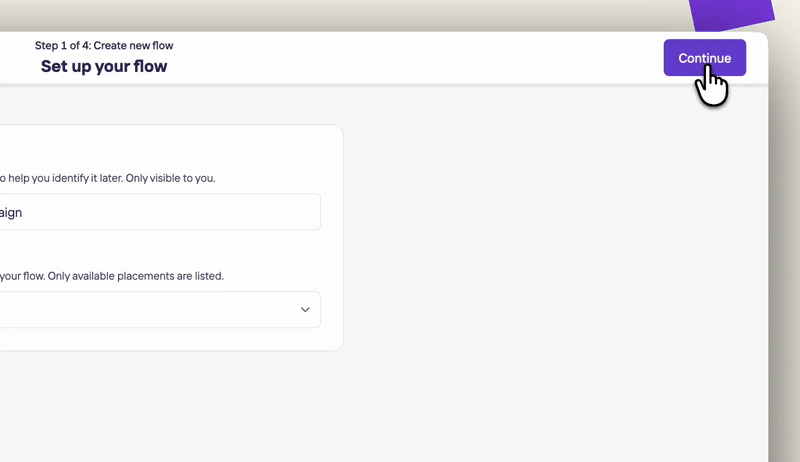
- Step 1 of 4: Set up your flow
- Give your flow a name to help you identify it later. It's only visible to you. Then, select a placement for your flow. Only available placements are listed.
- In this example, our goal is Conversion and we picked the Create Sense of Urgency flow with a Banner connected to a Story Bar.
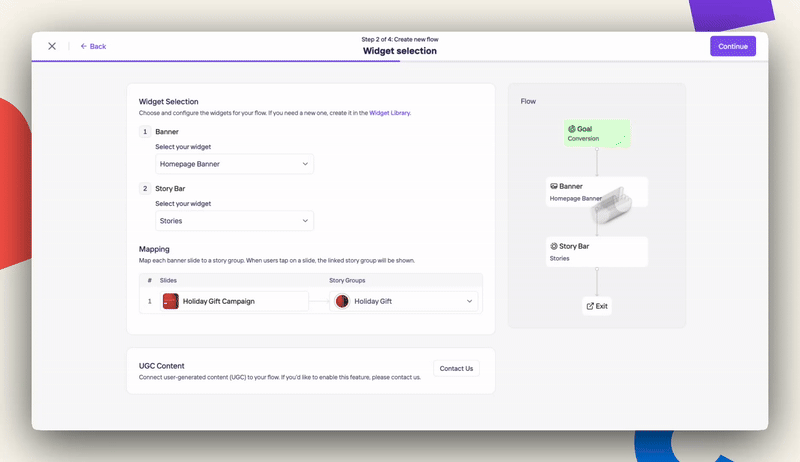
- Step 2 of 4: Widget Selection & Mapping
- Choose and configure the widgets for your flow. If you need a new one, please, create it in the Widget Library page.
- Map each banner slide to a story group. When users tap on a banner slide, the linked story group will be shown.
- Note ❗️: You can always update your content on each widget content page.
- Once you are done with the edition, click on the Continue button in the right corner.
- Step 3 of 4: Content Personalization
- Personalize and optimize how your content is delivered to users. Without personalization, content appears in the default order set in the widget.
- Storyly AI: analyzes user behavior and preferences to automatically deliver personalized content. This helps ensure each user sees the most relevant and engaging experience, driving higher interaction and satisfaction. If you want to enable it, just click on the toggle button.
-
Step 4 of 4: Review and launch
It’s time to review your flow settings step by step before launching.-
If you are ready you can click the Launch Flow button on the top right corner or just Save the changes button to launch it later.

-
Now, you should see this and all the flows you have created under this section. You can edit them anytime, activate, deactivate or archive the ones you don’t need anymore.
If you need to delete them, just click the three dots and select the Delete option.
Note ❗️: Schedule & Targeting is managed on each widget level on the content pages.
Updated 7 months ago