Using Okta for Storyly Sign In
Storyly now supports single sign-in for Okta. If your organization is using Okta, you can set up Okta sign-in for Storyly and let all your organization members sign in to Storyly with Okta.
Reach out to us!
If you'd like to use Okta sign in for Storyly, please reach out to us.
There are multiple steps to set up Okta sign-in on both Storyly and Okta Dashboards, which we'll cover below:
1. On the Storyly Dashboard, please go to Settings > Account Management.
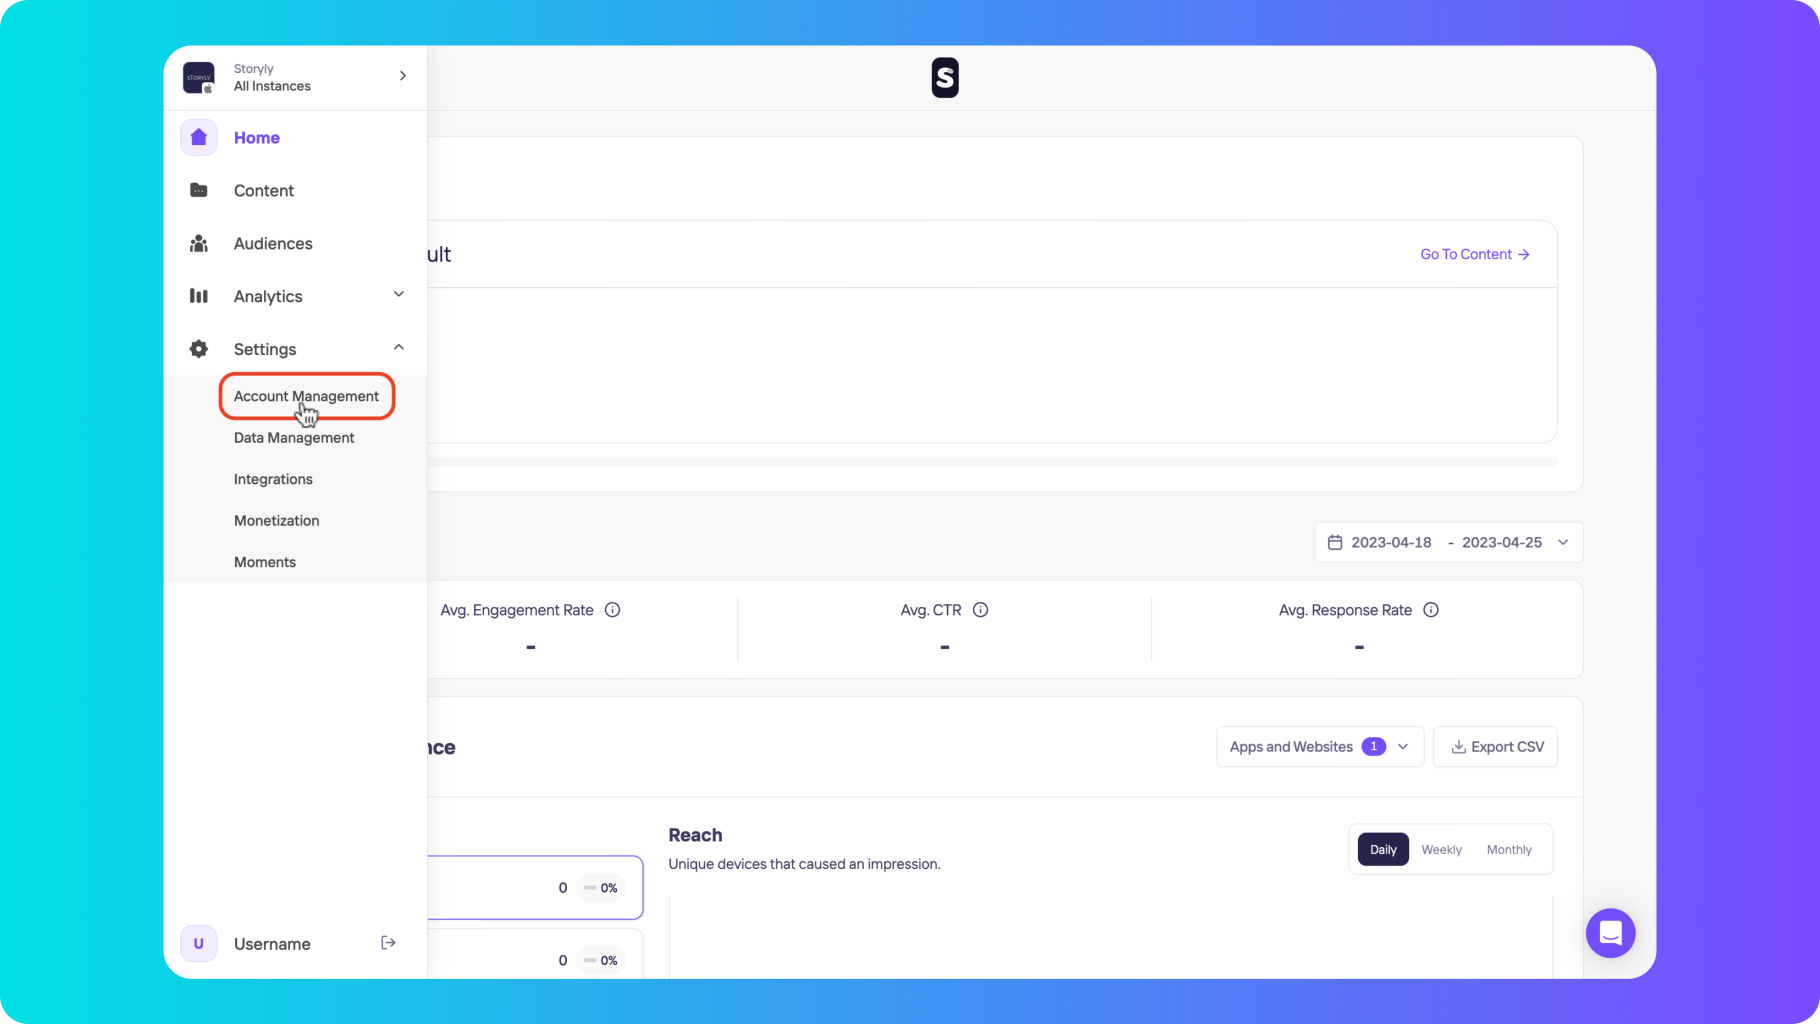
2. Navigate to SSO under Account Management, and expand the dropdown menu. Then, click on Connect with Okta.

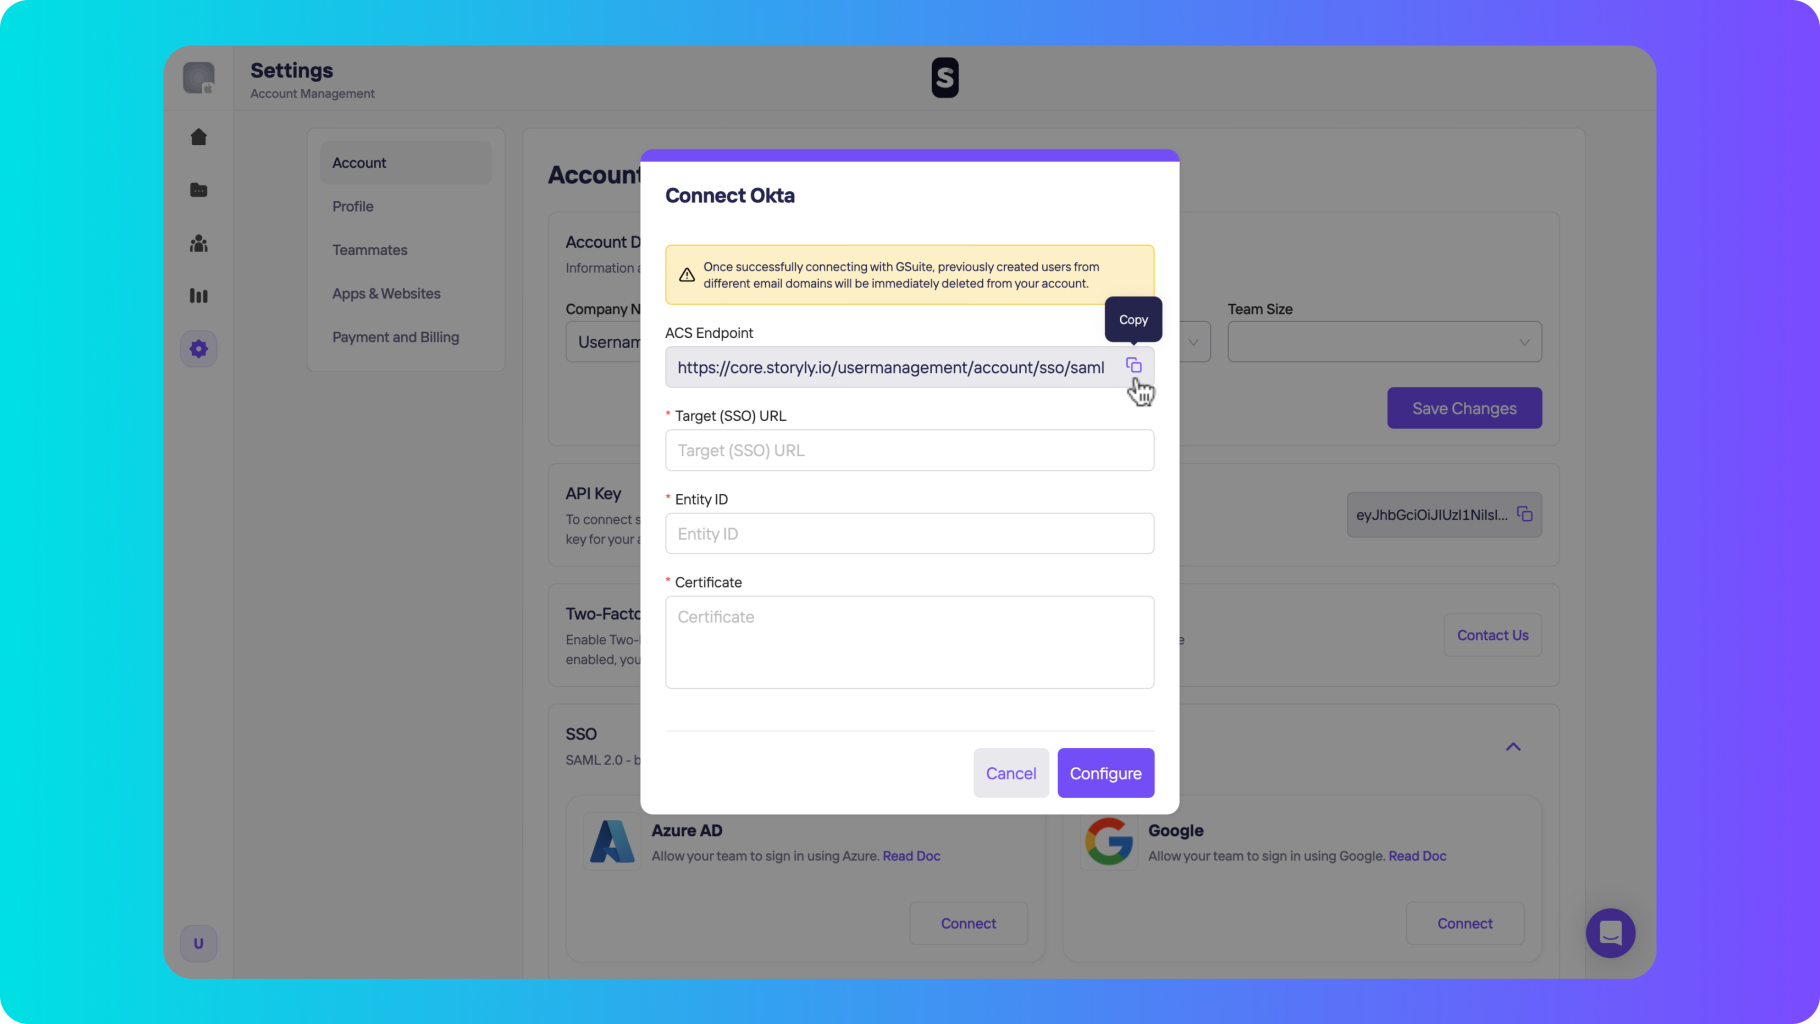
3. Here, you'll be needing Target (SSO) URL, Entity ID, and Certificate. Also, you'll use ACS Endpoint on the Okta side while setting up. You can simply click on Copy right next to it.

4.Afterward, let's go to Okta Administrator Dashboard.
On the Okta Administrator Dashboard, at the left pane, click on Applications and select Create App Integration.

Upcoming
Storyly will be added under Browse App Catalog soon. For now, we will continue with creating app manually.
5. After clicking on Create App Integration, please select the SAML 2.0 option and click Next.

6. At the next step, the app name is mandatory, you can type Storyly and upload a logo if you wish.

7. In the 2nd step, Configure SAML, please paste the ACS URL that you copied from Storyly Dashboard to the URL field.
8. Then, please type storyly for the SP Entity ID, type account_id for the Default RelayState, and select EmailAddress for the Name ID Format entry.

9. Please download the storyly.crt file from here. Next, click on Show Advanced Settings and upload the file as Encryption Certificate.

10. Please scroll down on the same page, under the Attribute Statements, type in email as Name, and select user.email as the Value. Then please click Next.

11. At the last step, please select the I'm an Okta customer adding an internal app option first. Afterward, a few more options will become visible, please select It's required to contact the vendor to enable SAML option as well. You're ready to Finish Okta connection now.

12. Application setup is completed 🚀 Last, you need to click on the Storyly application that you've created on Okta and go to the Sign On tab.

13. Under the Sign On tab, when you scroll down, you'll see the View SAML setup instructions button on the right-hand side.

14. Once you click on that button, you'll be forwarded to this screen. Now you need to copy multiple things and paste them to the relevant places on Storyly Dashboard.
- Identity Provider Single Sign-On URL
- Identity Provider Issuer
- X.509 Certificate

15. After copy&pasting each input respectively, you can click on Configure, and you'll be ready to go!
The setup is completed! From now on, your users can select the Continue with SSO option while logging into Storyly Dashboard or they can simply click on the Storyly Custom App icon on the Okta to log in.
Supported Feature
The Okta/Storyly SAML integration supports both Service Provider initiated SSO and Identity Provider initiated SSO.
Users can login via Okta Dashboard or via Storyly Dashboard, using the Continue with SSO option.

Warning
Once you enable SSO for your domain, previously added users with other email domains under your account will be deleted.
Warning
If your Team is using more than one domain, please reach out to us.